Official California Detailing Blog
How to Apply Ceramic Coating: A Step-by-Step Guide
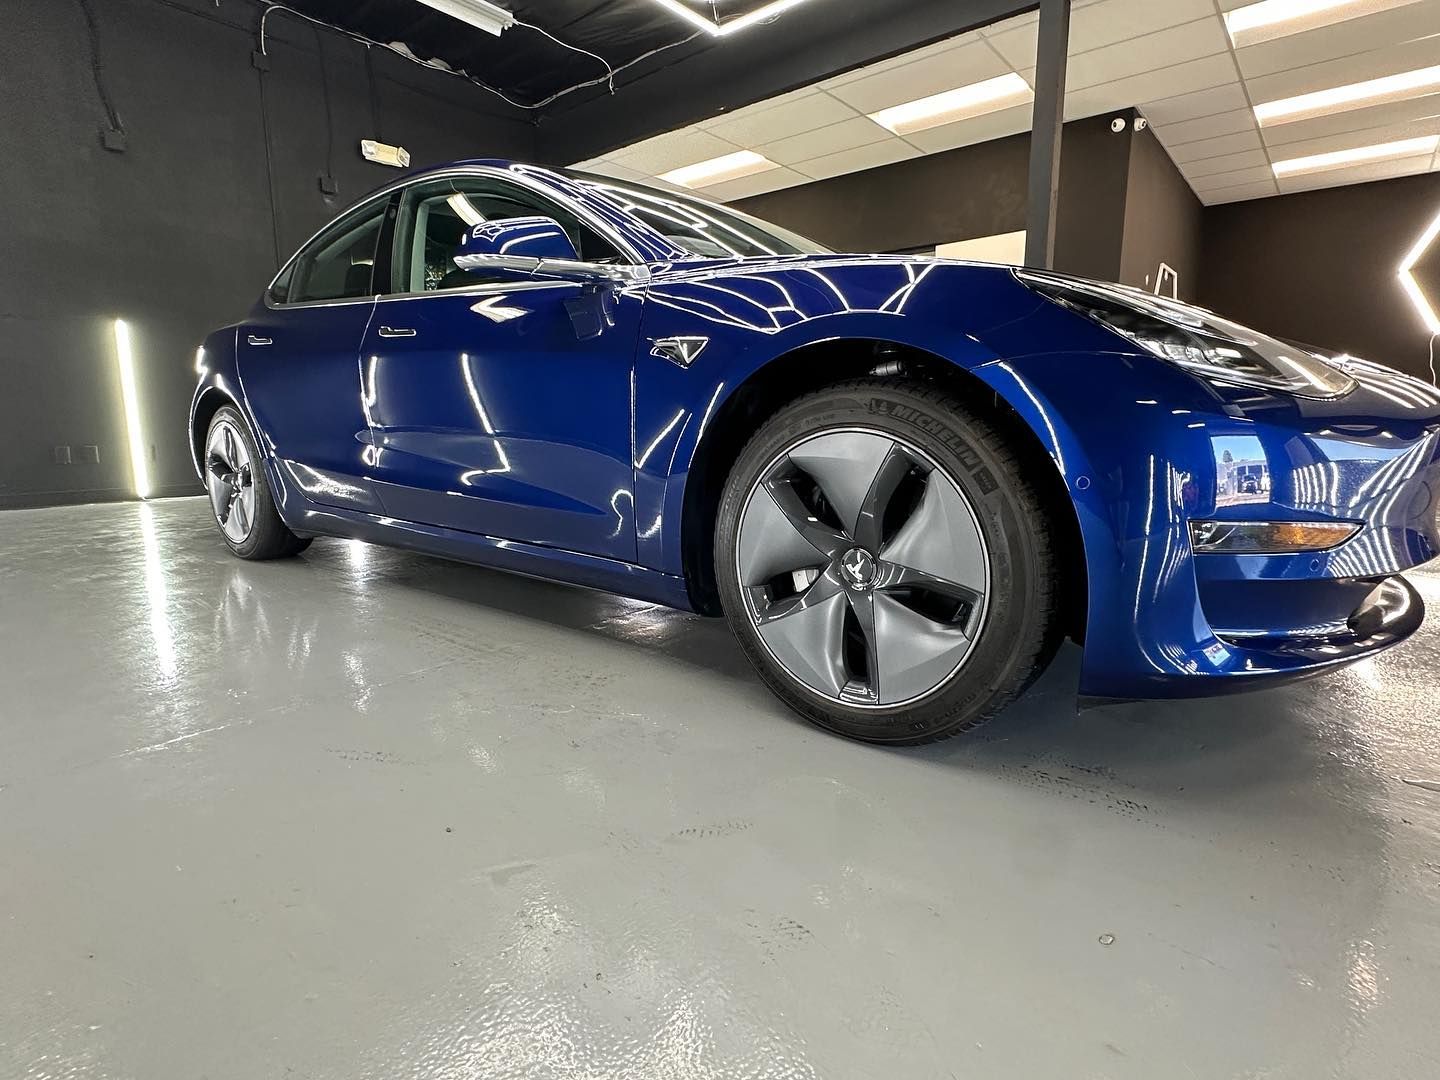
(619) 760-4962 GET A QUOTE NOWUnleashing the secret to a shining, showroom-finish car without the hefty professional detailing bill might seem like an automotive fairytale. That is, until you learn about applying a
ceramic coating. Welcome to your DIY roadmap for infallible car paint protection under California’s challenging conditions. In this step-by-step guide, you’re on the fast track to mastering ceramic coating application, ready to bring out the stellar sparkle in your vehicle and save a pretty penny along the way. Strap in; you're about to transform from a regular car owner to an adept auto detailer overnight!
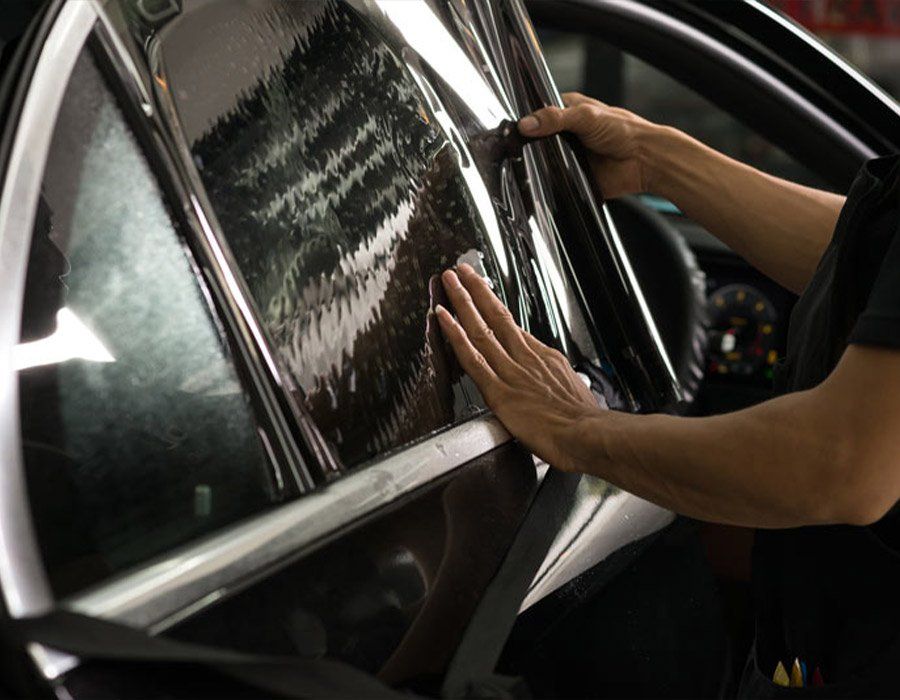
Surface Preparation for Ceramic Coating
Proper surface preparation is crucial when applying ceramic coating to your car. It sets the foundation for a successful and long-lasting application. Without adequate preparation, the coating may not adhere properly and fail to provide the desired level of protection. So, before diving into the exciting process of applying ceramic coating, it's essential to ensure your vehicle's surface is clean, smooth, and free from any contaminants.
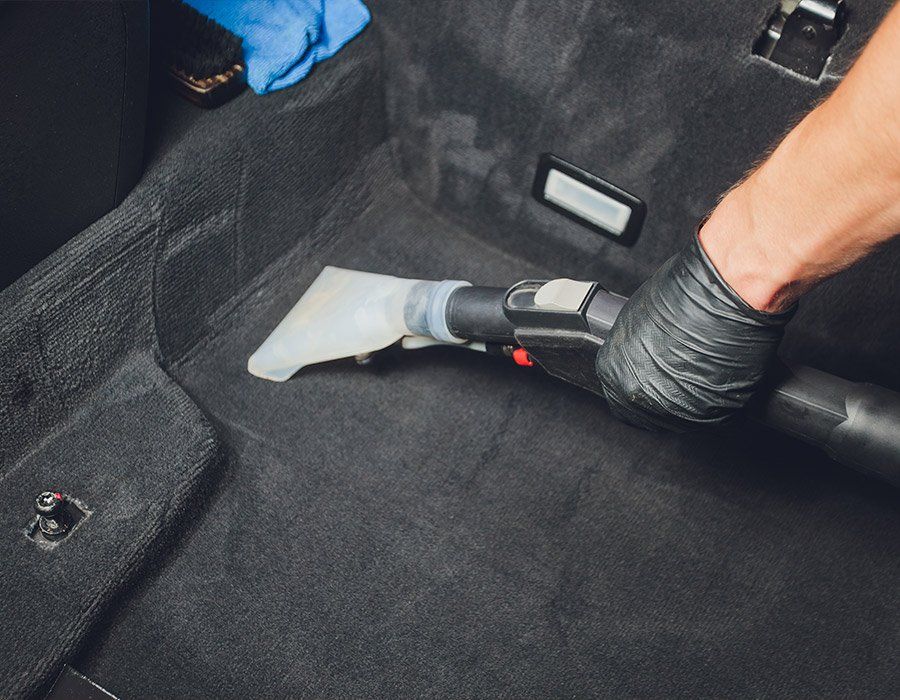
To begin with, thoroughly wash your car using a high-quality automotive shampoo to remove dirt, grime, and any loose particles that may be present on the surface. This initial step helps create a clean canvas for the coating to bond effectively.
Once your car is clean, it's time to decontaminate the paintwork. Iron fallout, tar spots, tree sap, and other stubborn contaminants can stick to the surface and hinder the bonding process for the ceramic coating. Using a dedicated iron and tar remover will help dissolve these contaminants and leave your paintwork in prime condition for coating.
After addressing iron fallout and tar spots, consider using a clay bar or a clay mitt to further remove embedded contaminants like overspray or industrial fallout. The clay bar glides over the paintwork using lubricant, gently pulling out these impurities from the surface. Remember to work on small sections at a time and keep the surface lubricated to prevent marring.
Once you've completed this decontamination process, dry your vehicle thoroughly using microfiber towels or a blower. Ensure there are no remaining traces of moisture before moving on, as water can interfere with the bonding process of ceramic coatings.
Now that your car's surface is clean, decontaminated, and potentially corrected, it's time to assess its condition to identify any remaining issues. Proper lighting is key here. By inspecting your vehicle in different lighting conditions, you can spot any imperfections that may require further attention. Look for swirl marks, holograms, or any other flaws that need to be addressed before applying the ceramic coating.
Importance of Proper Prep Work
Proper preparation work sets the stage for a successful ceramic coating application with optimal results. It ensures that the coating adheres correctly to the surface of your car, creating a strong bond that enhances durability and longevity. Here are a few reasons why giving attention to prep work is crucial:
Firstly, thorough surface preparation removes contaminants that could interfere with the bonding process of ceramic coatings. By eliminating dirt, grime, tar spots, iron fallout, and other impurities from the paintwork, you create an optimal surface for the coating to adhere to. This promotes a stronger bond and enhances the overall effectiveness of the ceramic coating.
Secondly, addressing imperfections through paint correction techniques before applying the ceramic coating helps optimize appearance. Swirl marks, light scratches, or holograms can detract from the sleek finish you desire on your vehicle. By properly preparing and correcting these issues beforehand, you ensure a smoother and more visually appealing finished product.
Additionally, following proper prep work procedures increases the longevity of the ceramic coating. The cleaner and smoother the surface before application, the better it can withstand environmental factors like UV rays, bird droppings, tree sap, and chemical exposure. A well-prepared surface allows the ceramic coating to act as a protective barrier, guarding your car's paintwork against potential damage.
Lastly, taking the time to properly prepare your vehicle for ceramic coating demonstrates your commitment to detail and quality. By investing effort into surface preparation, you show that you genuinely care about the appearance and protection of your car. It is an opportunity to give your vehicle the attention it deserves and ensure you achieve superior results.
Essential Tools for Ceramic Coating Application
When it comes to applying ceramic coating to your car for optimal paint protection, having the right tools is essential. Here are some essential tools you will need for a successful ceramic coating application:
- Microfiber Towels: These soft and lint-free towels are perfect for wiping off excess ceramic coating and ensuring a smooth and even application.
- Clay Bar Kit: Before applying the ceramic coating, it's crucial to prepare the surface by removing any contaminants or impurities. A clay bar kit helps to remove embedded dirt, debris, and oxidation from the paintwork, providing a clean canvas for the coating.
- Foam Applicators: Foam applicators are ideal for applying the ceramic coating evenly to the car's surface. They provide a smooth application while minimizing product waste.
- Spray Bottles: Proper dilution of the ceramic coating solution is important for achieving desired results. Spray bottles allow you to easily mix and spray the solution onto the applicator or directly onto the surface.
- Masking Tape: To protect trims, rubber seals, and other areas that you don't want to be coated, masking tape is necessary. It creates clean lines and prevents accidental coating on unintended surfaces.
- Gloves: Ceramic coatings can be harsh on the skin; wearing gloves protects your hands from chemicals and makes cleanup easier.
- Paint Thickness Gauge: This tool helps in measuring the thickness of the paint to ensure compatibility with multiple coats of ceramic coating.
- UV Light: A UV light source can aid in curing or inspecting certain types of ceramic coatings, helping you verify that they have properly bonded with the paint surface.
- Polisher: While not always necessary, a polisher can come in handy if your car's paint requires correction before applying the ceramic coating. It helps remove light scratches, swirl marks, and other imperfections, creating a smoother surface.
Imagine you're preparing your car for a ceramic coating application. You have your microfiber towels ready to wipe off excess product with ease, and the clay bar kit ensures a clean surface by removing any contaminants. With foam applicators in hand, you can smoothly and evenly apply the ceramic coating. Spray bottles make it convenient to dilute and apply the coating solution. Masking tape protects delicate areas from unintended coating, and gloves keep your hands safe during the process. A paint thickness gauge allows you to measure the compatibility of multiple coating layers, while a UV light helps verify proper bonding. Lastly, if necessary, a polisher helps correct any imperfections before applying the ceramic coating.
Selecting Brushes and Applicators
The selection of brushes and applicators plays a vital role in achieving an even and flawless ceramic coating application. Here are some factors to consider when choosing them:
- Brush Material: Look for brushes made of soft materials like fine microfiber or natural hair bristles. These materials are gentle on the car's paintwork and help prevent scratching or marring.
- Size and Shape: Consider the size and shape of the brush or applicator based on the area you're working on. Smaller brushes are suitable for intricate areas such as emblems or grilles, while larger ones work well for bigger surfaces like hoods or doors.
- Applicator Type: There are different types of applicators available for ceramic coatings, including foam pads, suede cloths, or foam blocks. Each type has its advantages; foam pads tend to provide more even coverage, while suede cloths may require less product for application.
- Ease of Cleaning:
Choose brushes and applicators that are easy to clean after use. This ensures their longevity and prevents any potential cross-contamination when using them for future applications.
- Compatibility with Coating: Ensure that the brushes and applicators you select are compatible with the specific ceramic coating you are using. Some coatings may have recommendations or guidelines regarding the type of applicators to use for optimal results.
With the right brushes and applicators at your disposal, you can confidently proceed with mixing and applying the ceramic coating solution to your car for enhanced paint protection.
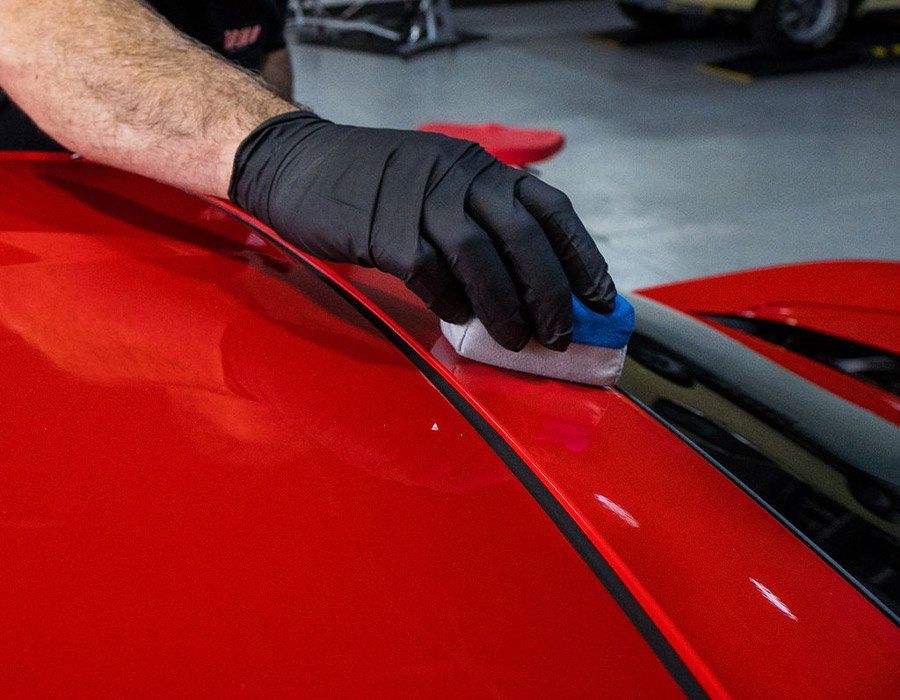
Mixing and Applying the Ceramic Solution
Preparing and applying the ceramic solution properly is crucial for achieving optimal results and long-lasting paint protection. The process involves careful mixing of the ceramic coating product, followed by a meticulous application onto the vehicle's surface.
Firstly, it is essential to thoroughly read and follow the manufacturer's instructions on how to mix the ceramic solution. Different products may have specific guidelines regarding ratios or additional steps, so attention to detail is paramount. Gather all the necessary tools and materials, including protective gloves and applicator pads, before starting this process.
Once ready, begin by shaking the ceramic coating bottle well to ensure proper consistency. Then, pour a small amount of the coating into a suitable container for easy access during application. Be cautious not to expose the remaining unused product to any contamination or prolonged exposure to air.
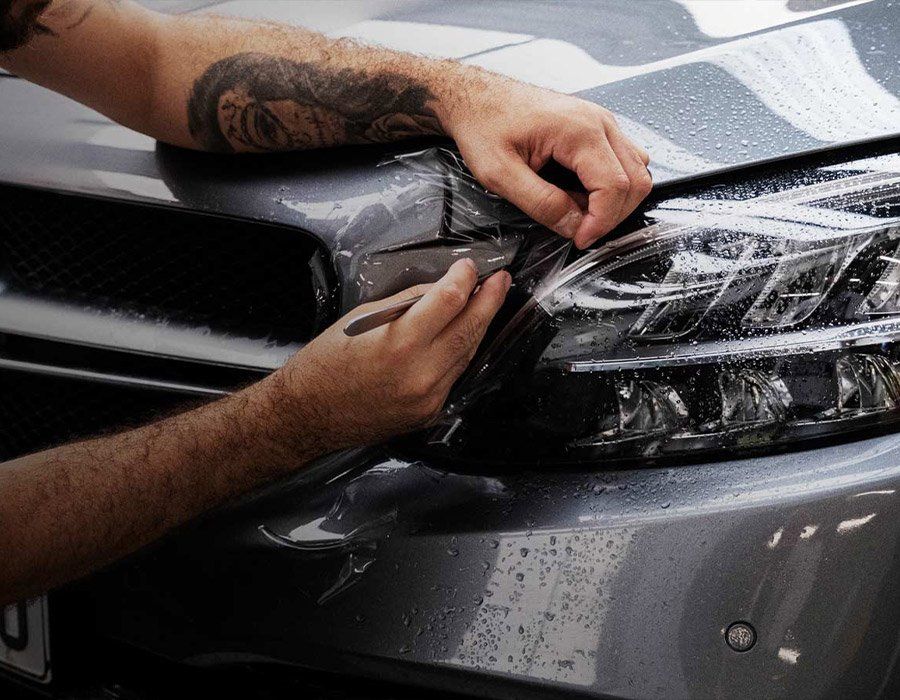
Next, dip an applicator pad or cloth into the container with the mixed ceramic solution. Start applying the coating to the vehicle's surface using even strokes in one direction, such as from left to right or top to bottom. Begin with a small area, like a panel or section of the vehicle, before moving on to another area.
It is important to work in manageable sections and avoid letting the coating dry on the surface before buffing it off. Depending on the specific product instructions, there might be different recommended curing times between each coat application, so be sure to follow those guidelines diligently.
Remember that ceramic coatings are designed to bond chemically with your vehicle's clear coat. This means that thorough cleaning and preparation of the surface are vital to ensuring proper bonding. Prior to applying the ceramic solution, it is highly recommended to perform a thorough wash and decontamination of your car's paint to remove any dirt, residue, or surface imperfections. This will create an ideal base for the ceramic coating to adhere to and enhance its effectiveness.
Spraying Technique for Optimal Coverage
When it comes to applying ceramic coatings using a spray gun, proper technique is crucial to ensuring even and thorough coverage. Here are some key steps and tips to keep in mind:
- Prepare Your Spray Gun: Before starting, make sure your spray gun is clean, free from any residue or previous coatings. Clean all parts thoroughly with the appropriate solvent to prevent clogs or uneven spraying.
- Adjust Air Pressure and Nozzle: Depending on the specific product and manufacturer recommendations, adjust the air pressure and nozzle size on your spray gun. This will help achieve the optimum atomization and allow for a smooth application.
- Practice on a Test Panel: If you are new to using a spray gun, it's advisable to practice on a test panel or an inconspicuous area first. This allows you to get familiar with controlling the spray pattern and ensure proper technique before applying the coating to the entire vehicle.
- Maintain Consistent Distance and Speed: When spraying the ceramic coating onto the vehicle, maintain a consistent distance from the surface (usually around 6-8 inches) and maintain a smooth, steady motion at a moderate speed. Avoid oversaturating areas or applying too thinly by maintaining an even coat.
- Overlap Each Pass:
To ensure complete coverage, overlap each pass by approximately 50% with the previous one. This helps eliminate any potential gaps or inconsistencies in the coating.
- Work in Sections: Similar to applying with an applicator pad, it is advisable to work in manageable sections when using a spray gun. This allows for better control and ensures even coverage without the coating drying too quickly.
Remember to always refer to the product-specific instructions and guidelines provided by the manufacturer for proper mixing ratios, spraying techniques, and curing times. Achieving expert-level results may take practice and experimentation, so don't be discouraged if it takes a bit of trial and error to find your groove.
Understanding the Ceramic Coating Curing Process
When it comes to applying ceramic coating for car paint protection, understanding the curing process is essential. The curing process refers to the chemical reaction that occurs after the application of the ceramic coating and transforms it into a durable and protective layer on your vehicle's paint surface. This process involves the evaporation of solvents and the cross-linking of molecules in the coating, which ultimately forms a strong bond with the paint.
The time it takes for a ceramic coating to fully cure may vary depending on several factors, including the specific brand of coating used and environmental conditions. Generally, it can take anywhere from 24 to 48 hours for the initial curing process to occur. However, it's important to note that this initial curing period is just the beginning, and full hardness and durability can take several days or even weeks to develop.
During the curing process, it is crucial to avoid exposing your vehicle to any moisture or extreme temperatures. Moisture, such as rain or washing your car, can interfere with the bonding process and affect the quality of the cured coating. Similarly, exposure to extremely high or low temperatures can impact the chemical reactions needed for proper curing.
To ensure optimal results during the curing process, it's recommended to keep your vehicle in a controlled environment, such as a well-ventilated garage or a professional detailing shop. This allows for consistent temperature and humidity levels, reducing the risk of any external factors influencing the curing process.
It's worth noting that different ceramic coating products may have specific instructions regarding curing times and procedures. Therefore, always follow the manufacturer's recommendations to achieve optimal results.
Ideal Conditions for Curing A Ceramic Coating
First and foremost, temperature plays a critical role in achieving successful curing. Ideally, the temperature range should be between 60-90°F (15-32°C) to facilitate proper cross-linking of the coating molecules. Higher temperatures can lead to faster curing but may result in a shorter working time for application, while lower temperatures can significantly delay the curing process.
Humidity levels are equally important during the curing process. To ensure optimal results, aim for a relative humidity level between 40% and 70%. Extremely high humidity can prolong the drying time and affect the coating's appearance, while low humidity levels could expedite the curing process, resulting in an inferior finish.
When considering ideal conditions for curing a ceramic coating, one might wonder if it's better to cure indoors or outdoors. While both options have their pros and cons, an indoor environment offers better control over temperature and humidity levels. It protects against external factors like pollen, dust, and insects that could potentially mar the coating surface during the curing process. However, outdoor curing might offer natural airflow and ventilation that help with chemical off-gassing.
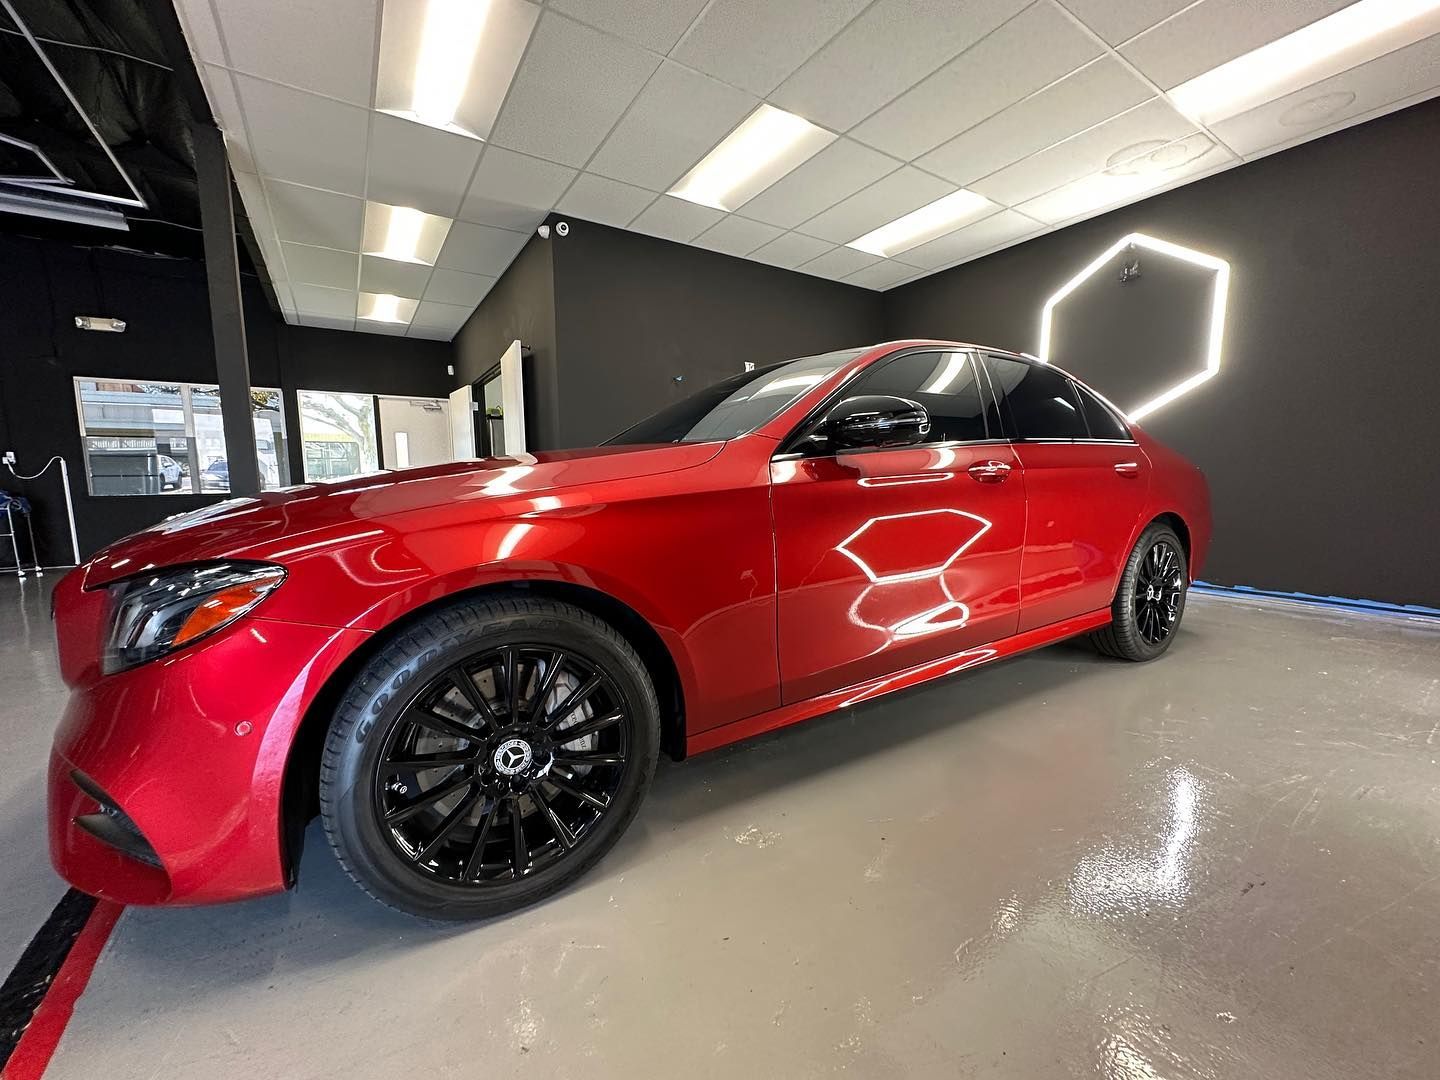
Elevate Your Car's Shine With Official California Detailing
Revitalize your vehicle's allure with Official California Detailing's mastery of ceramic coating. Even with California's unique challenges, our step-by-step roadmap guarantees foolproof paint protection. Starting with careful surface preparation and imperfection assessment, this guide lays down a solid foundation for flawless application.
Be ready for success when selecting brushes: equip yourself with essential tools and learn to master mixing and application processes as well as spray techniques; master curing processes for long-term, showroom-quality results. Understand the crucial curing process for enduring, showroom-quality results. Unleash the brilliance of ceramic coating with Official California Detailing—your journey from car owner to adept auto detailer starts here.
Transform your vehicle into a masterpiece! Discover our premium ceramic coating solutions today!
Share With Your Friends
Official California Detailing Blog