Official California Detailing Blog
How to Stop Window Film Peeling Off: Tips for Proper Installation
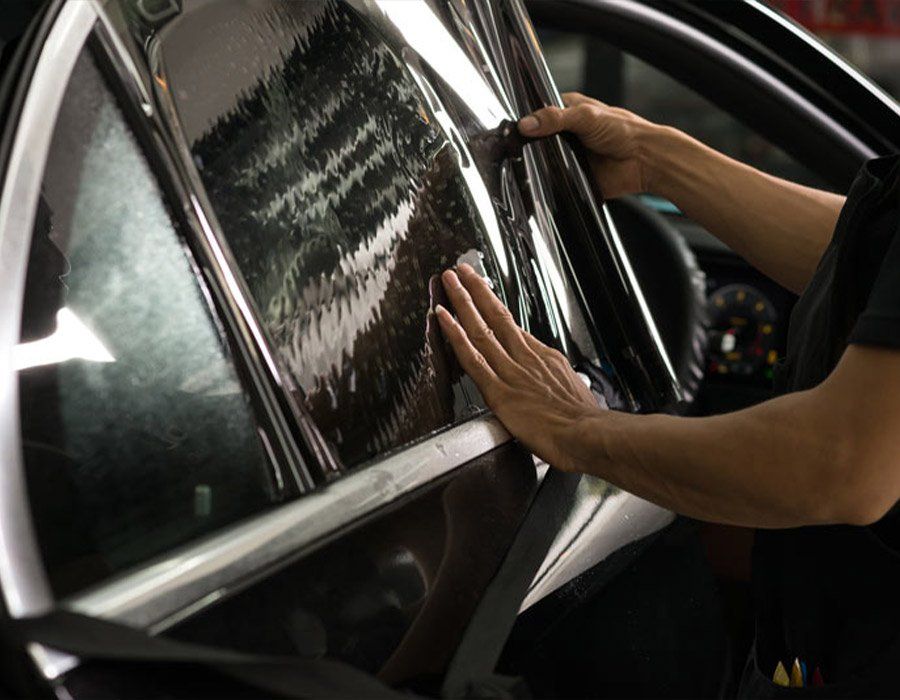
(619) 760-4962 GET A QUOTE NOWWhen it comes to adding window film to your car or home, you want it to last, right? Nobody likes it when that shiny new tint starts peeling off, making your windows look shabby. Proper installation is crucial for maintaining the quality of your window film. In this article, we'll explore some common causes of window film peeling and how to avoid them so you can enjoy your investment without worry. Whether you're a DIY enthusiast or planning to hire a pro, understanding these best practices will help you get the most out of your window film experience.
To stop window film from peeling off, ensure proper installation by using high-quality materials suited for your vehicle's glass and environment. If you notice peeling, consider repairing it promptly by addressing air bubbles or adhesive breakdown, and always consult a professional if the damage is significant to maintain the integrity of the tint.
Causes of Window Film Peeling
Understanding why window film peels can significantly reduce frustration and expense in the long run. One significant culprit is poor installation techniques. When an installer applies the film hastily or without the proper tools, it often results in a less-than-optimal bond with the glass surface. Improper alignment during application can trap air pockets underneath the film, leading to bubbling that eventually escalates to peeling.
Another reason for premature peeling could be the use of low-quality films. Cheaper options tend to sacrifice durability for cost-efficiency, making them more susceptible to breaking down when faced with prolonged exposure to UV rays or extreme weather conditions. Over time, these products lose their adhesive properties, making them prone to detachment from the glass surface. Consider purchasing higher-end films; they might require a more significant initial investment but will likely save you money over time with better longevity.
Additionally, environmental factors play a major role in this issue. Things like extreme temperature fluctuations and exposure to moisture can weaken the adhesive responsible for securing the film in place. When temperatures rise and fall dramatically, materials expand and contract differently; this movement stresses the adhesion points.
Improper maintenance after installation can also contribute to film peeling. Many homeowners may inadvertently harm their
window tint by using harsh chemicals or abrasive cleaning tools while attempting to clean their windows. It’s essential to use gentle cleaning solutions and soft cloths designed for tinted windows to avoid damaging the protective layer.
Cleaning and Preparing Glass Surfaces
The first step to ensuring your window film adheres well is absolutely thorough cleaning. Even the tiniest bit of dirt or residue can undermine the effectiveness of your installation.
To begin this process, use a non-abrasive cleaner that won't scratch the glass. A mixture of water and mild soap serves as an excellent alternative to many commercial cleaners that may contain harmful chemicals like ammonia. These harsh ingredients not only leave residues but can also weaken the adhesive that bonds the film to the glass over time.
With the right cleaning solution in hand, it's time to tackle the drying aspect of this process.
Once you have scrubbed the glass, move on to drying the surface thoroughly. It's crucial to wipe down the glass with a lint-free cloth, as any fabric particles left behind will create unsightly bumps under your window film. Microfiber cloths are particularly effective; their fine fibers trap dust and fibers better than other materials while still providing a gentle touch.
Take your time here—rushing could result in unnecessary blemishes that would be very difficult to rectify once the film is applied.
Now, for the final touch: a meticulous wipe-down using isopropyl alcohol. Often overlooked, this step is crucial in creating a pristine surface for your window film. Isopropyl alcohol effectively cuts through any stubborn oils or invisible smudges left from previous cleanings, ensuring you eliminate every trace of residue.
Simply dampen a clean microfiber cloth with some alcohol and gently wipe down the surface once more; you'll be astonished at how much fresher and cleaner the surface can feel and appear after this last pass.
By taking steps for initial cleaning, drying thoroughly, and executing a final wipe with isopropyl alcohol—you'll ensure your window film adheres perfectly without any hiccups during installation.
Handling Air Bubbles During Installation
Air bubbles often pop up like uninvited guests during the application of window film, but with a little patience and the right technique, they can be gracefully shown at the door. The key lies in treating the film with care and ensuring it remains wet as you work—this allows for flexibility and movement, reducing the risk of damage.
Begin by spraying a mixture of water and a few drops of dish soap onto the installed film; this creates a slip that helps you maneuver the film more easily while applying pressure.
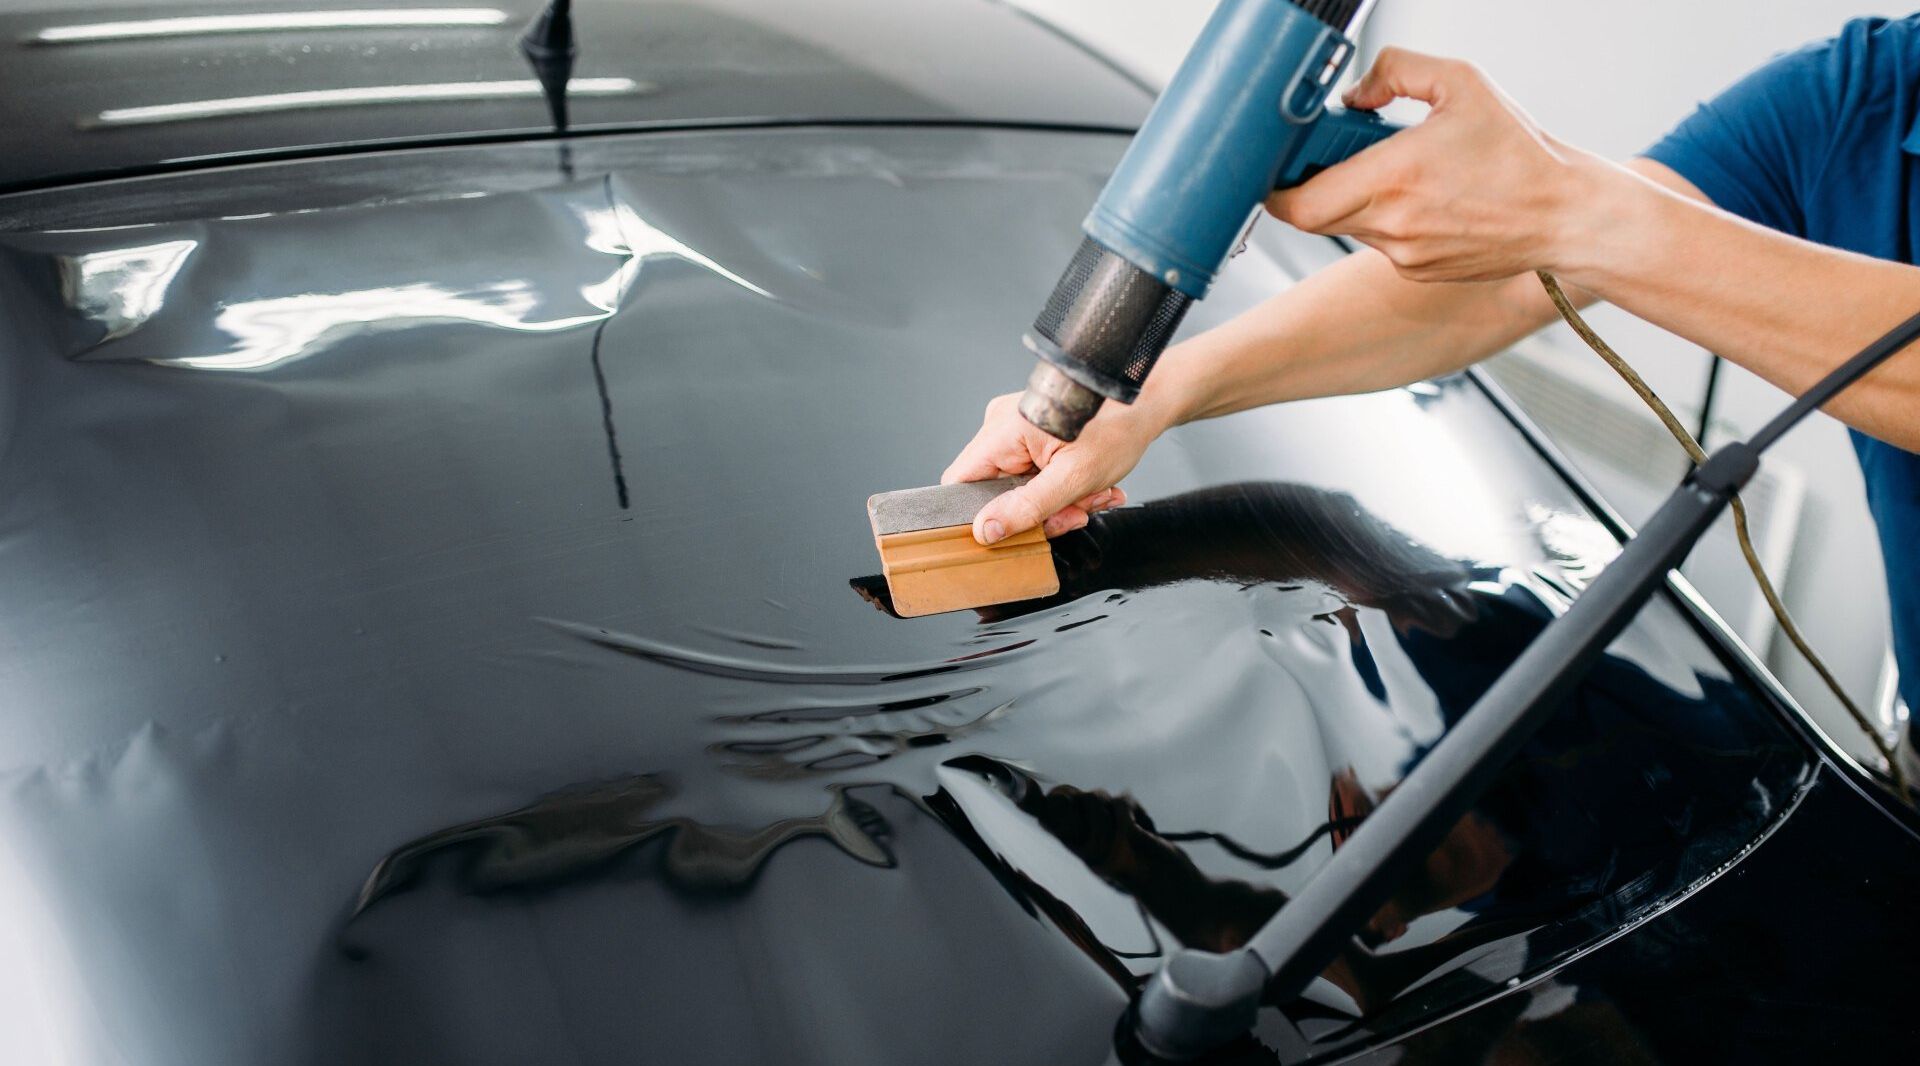
You will find that using a squeegee is one of your best allies in this endeavor. With gentle yet consistent pressure, glide the squeegee from the center of the film toward the edges. This method not only helps in releasing air trapped under the surface, but it also evenly distributes the adhesive, allowing for a tight bond between the glass and film.
Step-by-Step Guide to Remove Air Bubbles
- Start with Soapy Water: After making sure your workspace is clear, spray the window film lightly with soapy water; remember, a little goes a long way.
- Squeegee Technique: Using your squeegee, apply firm strokes starting from the center towards the edges. Do this methodically; don’t rush through it. Each pass should push any air out and leave behind a smooth surface.
- Tackle Persistent Bubbles: If some bubbles refuse to budge, take a pin or a fine needle to puncture them carefully. Once you’ve done that, follow up quickly with your squeegee to extract the remaining air.
If peeling persists despite these techniques, it's important to explore further strategies and options that can effectively address more significant issues that may arise.
Solutions for Significant Peeling
If you find substantial peeling on your window film, worrying won’t help. Instead, take a proactive approach by assessing the damage and deciding if a repair or replacement is necessary.
In instances where the peeling covers a significant area, reapplying adhesive may not achieve the desired results. In this case, you should consider replacing the window film entirely to ensure a smooth and uniform appearance.
However, if you are inclined to tackle the problem without removing the entire film, repairing a larger peel can still be done with careful attention. It begins with determining how extensive the peeling is; if it's limited to one side or corner of a pane, you might choose to go ahead with an adhesive application. Alternatively, if most of the film is compromised, it’s wiser to start fresh.
For those who decide to repair rather than replace, follow these detailed steps. First and foremost, clean the affected area thoroughly. Use distilled water mixed with a little dish soap to remove any dirt and debris that may have lodged underneath the film. This step is crucial because dirt can affect adhesion and lead to further peeling later. After cleaning, dry the area gently but completely using a microfiber cloth.
Tip: Make sure you're working in appropriate conditions—ideally on a sunny day when it's around 75 degrees Fahrenheit—as warm temperatures make adhesives more malleable and easier to work with.
Mastering Application
Once you've applied the adhesive, press down firmly on the film while simultaneously using a squeezer or credit card to eliminate any air bubbles that may have been trapped. This step will help prevent future wrinkles or bumps that could lead to splitting and peeling.
Allow ample time—generally 24 hours—for everything to set firmly before interacting with the film again. This drying period ensures that your hard work remains intact over time. Regularly monitor any repairs made after installation; pay special attention during extreme weather conditions as temperature changes can stress window films.
Future Maintenance Tips
Taking care of your window film is like nurturing a plant; it requires regular attention. Making sure to clean with care is vital—avoid harsh chemicals that can degrade the adhesive; instead, stick with mild soapy water and a soft cloth. This simple step will help maintain the film’s integrity while keeping it looking clear and pristine.
Regular inspections are equally important, as they allow you to catch any bubbling or peeling before they become bigger problems.
For instance, consider making it a habit to check your window film at least every couple of weeks. Look closely around the edges for any signs of lifting or bubbles.
Identifying potential issues early not only helps in prolonging the lifespan of your film but also saves you time and money in repairing or replacing it later.
Maintenance Routine
Crafting a solid maintenance routine is essential for the longevity of your window film. Cleaning it with a soft cloth every couple of weeks keeps dirt and grime from building up. If you notice any bubbles, don't hesitate to address them immediately before they have the chance to grow.
Additionally, maintaining consistent indoor humidity levels is significant; fluctuations can create stress on the film and lead to peeling or warping over time.
As part of your maintenance approach, think about your environment. If you live in an area with high humidity or extreme temperatures, this could affect the performance of your window film. In such cases, consider using dehumidifiers or air conditioning systems to regulate moisture levels indoors effectively.
For those seeking long-term solutions and expert care, we recommend visiting Official California Detailing. With their extensive experience in automotive protection services, they ensure exceptional installation and continued maintenance support for things like window films and ceramic coatings, ensuring that you get the most out of your investment.
By committing to these maintenance tips, you'll not only enhance the look of your windows but also protect your assets against premature wear and tear—all while maintaining a cleaner environment within your car or property.
Keep Your Window Film Secure with Proper Installation
Window film offers excellent benefits, including added privacy and protection from UV rays. However, if it’s not installed correctly, peeling can become a frustrating issue that compromises its functionality and appearance. By following simple steps like cleaning the surface thoroughly, using quality materials, and ensuring proper application, you can prevent peeling and extend the life of your window film.
At Official California Detailing, we pride ourselves on delivering professional window film installation to ensure lasting results. With our expertise and attention to detail, we guarantee your window film will look great and stay securely in place. Don’t let peeling film ruin your windows—let us help you get it done right.
If you want personalized assistance, contact us at Official California Detailing or call us at (619) 760-4962 for more information on how we can help you protect your investment!
Share With Your Friends
Official California Detailing Blog